Spooky Pumpkins
I designed these faces for the default sizes of my scale mail pouch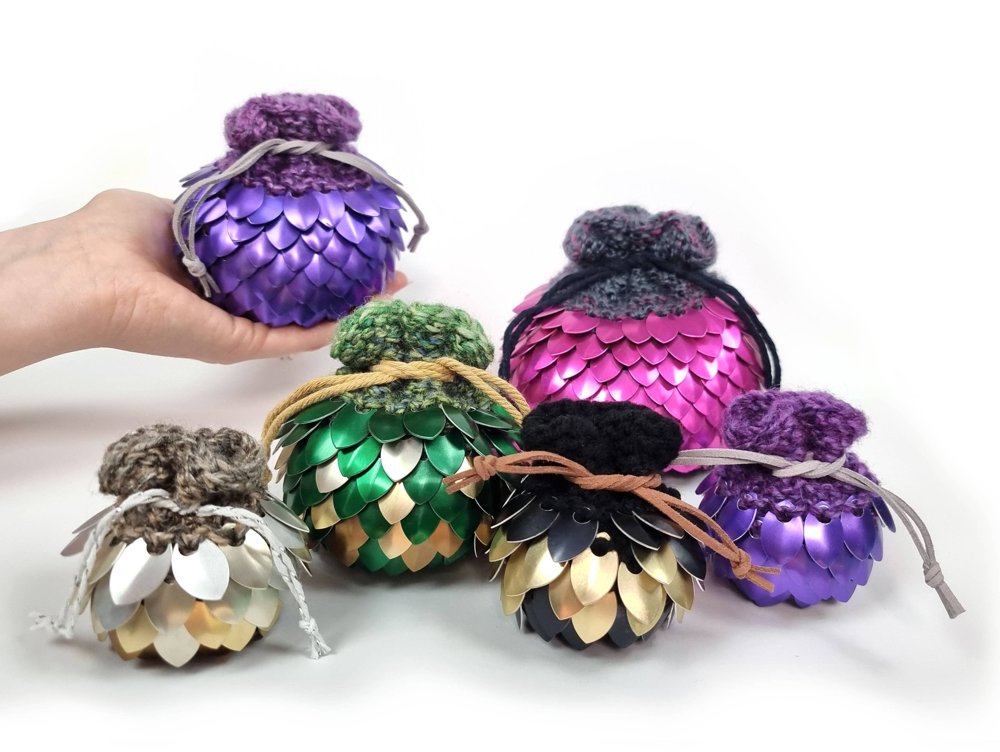 ,
but they could also be translated to other large flat scale surfaces, such as the wide choker
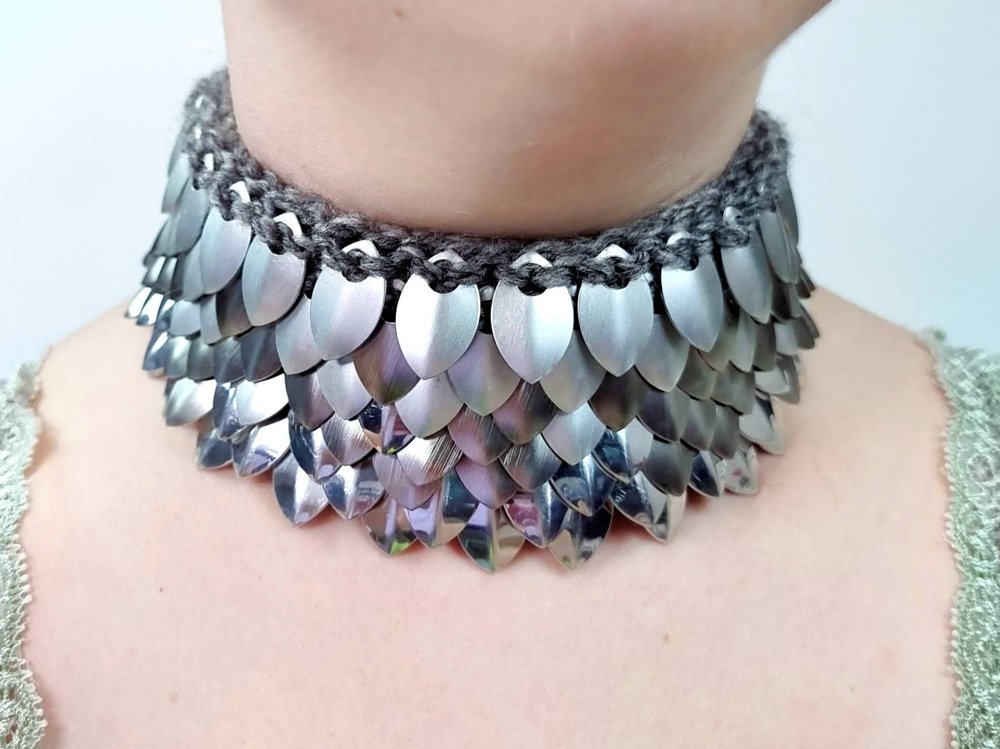 ,
or the neck piece
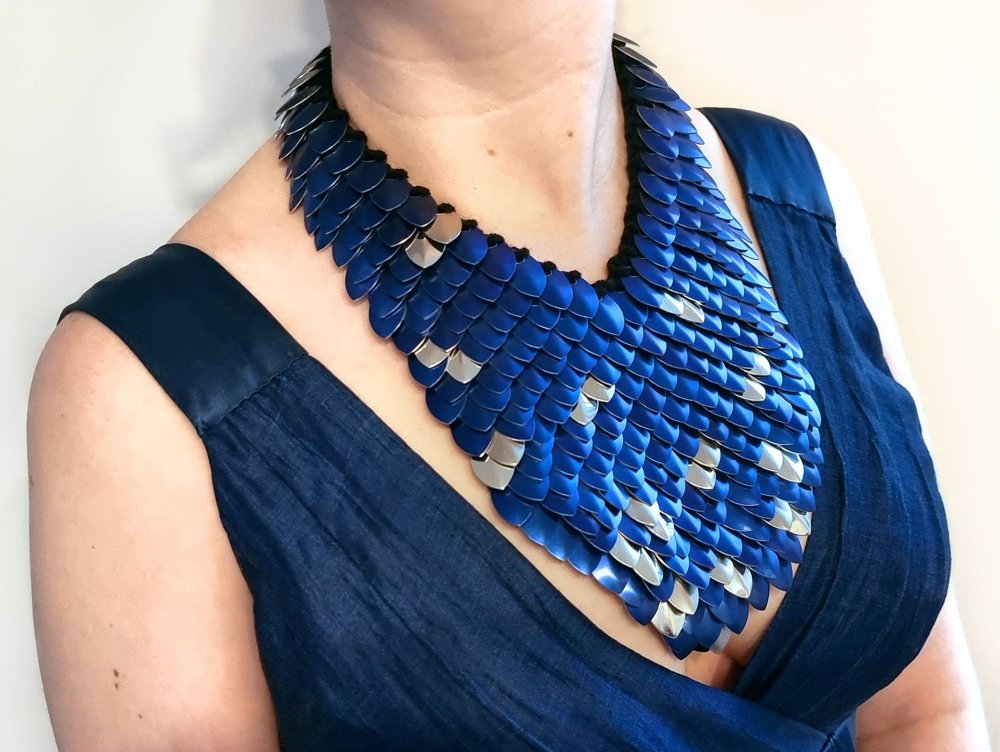 .
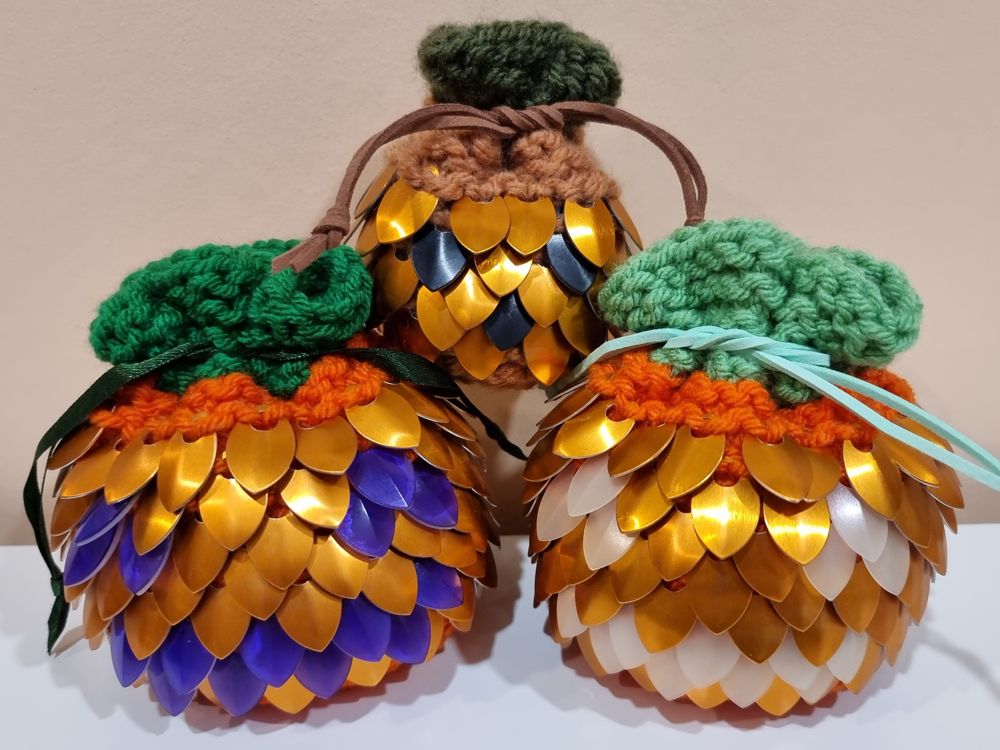
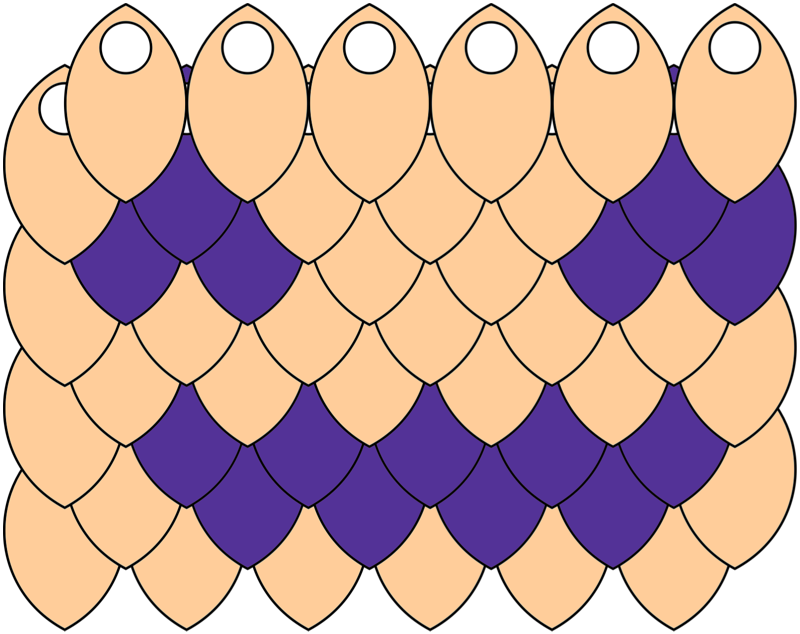
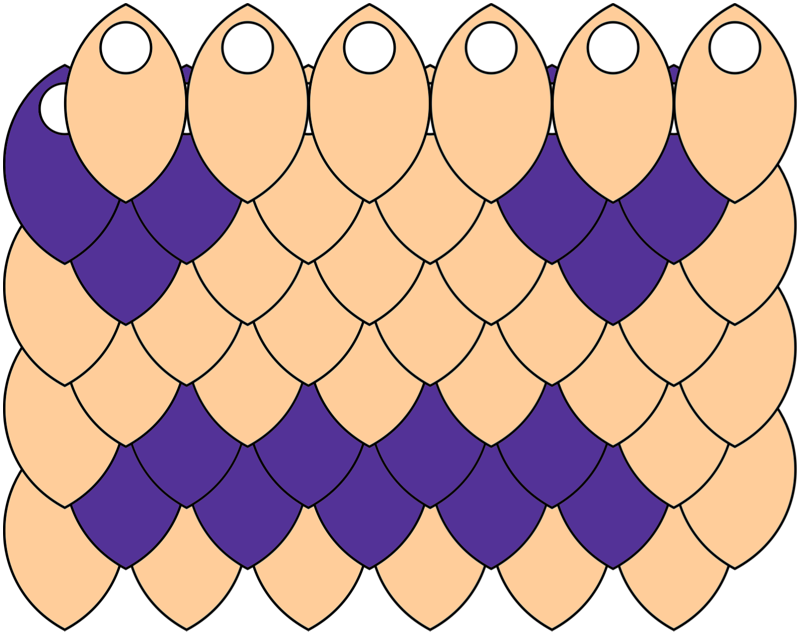
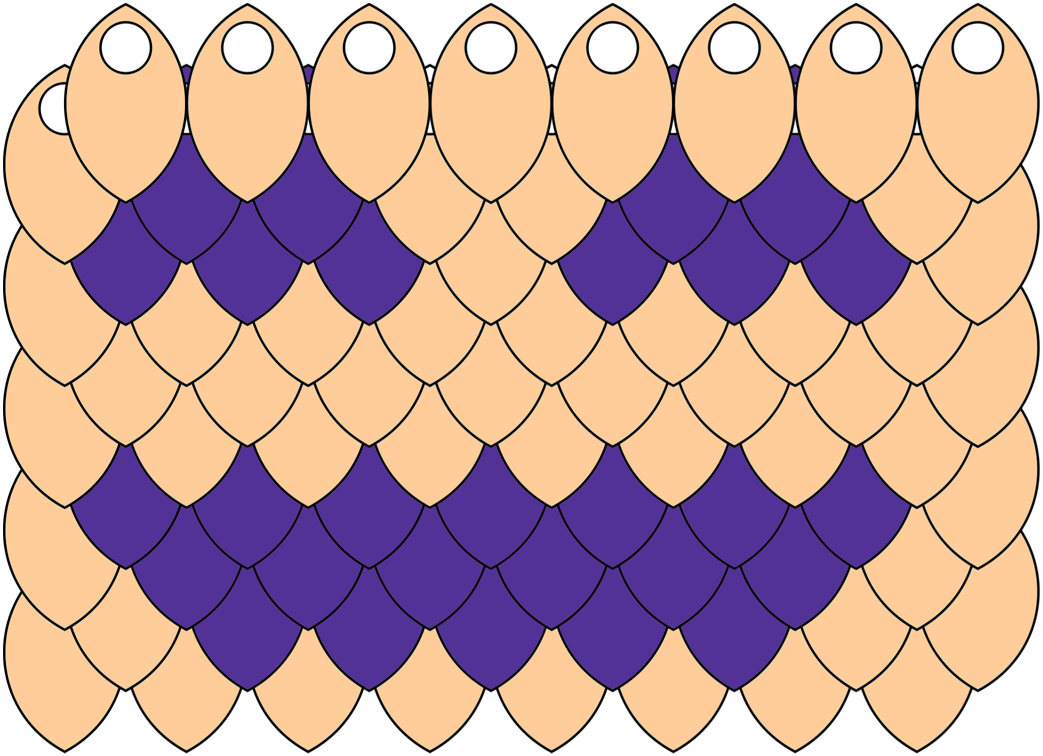
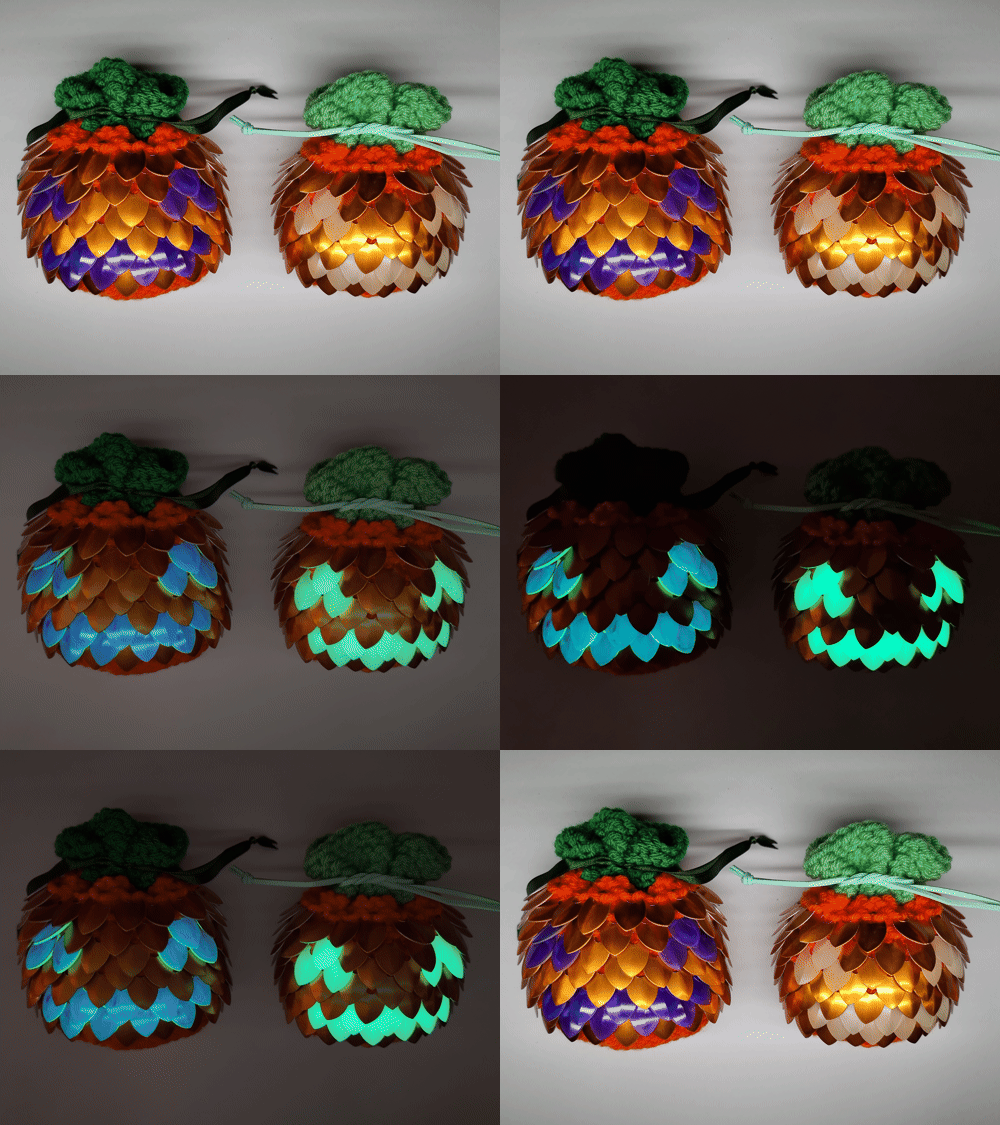
The examples shown here are from left to right: Medium (smile) on medium pouch, Small on small pouch, and Medium (smile) on medium pouch.
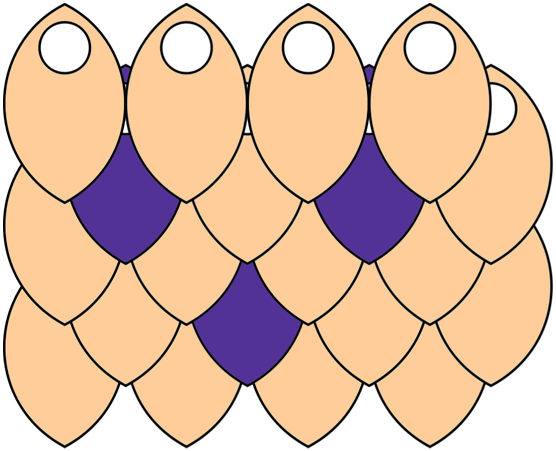
Charts
Scale Colours
The main colour naturally lends itself to orange if you want to go for the pumpkin look, but could suit any colour. Face details can be made black as it has a good contrast to an orange base, but glow in the dark scales are very fitting for a spooky glowing grin.
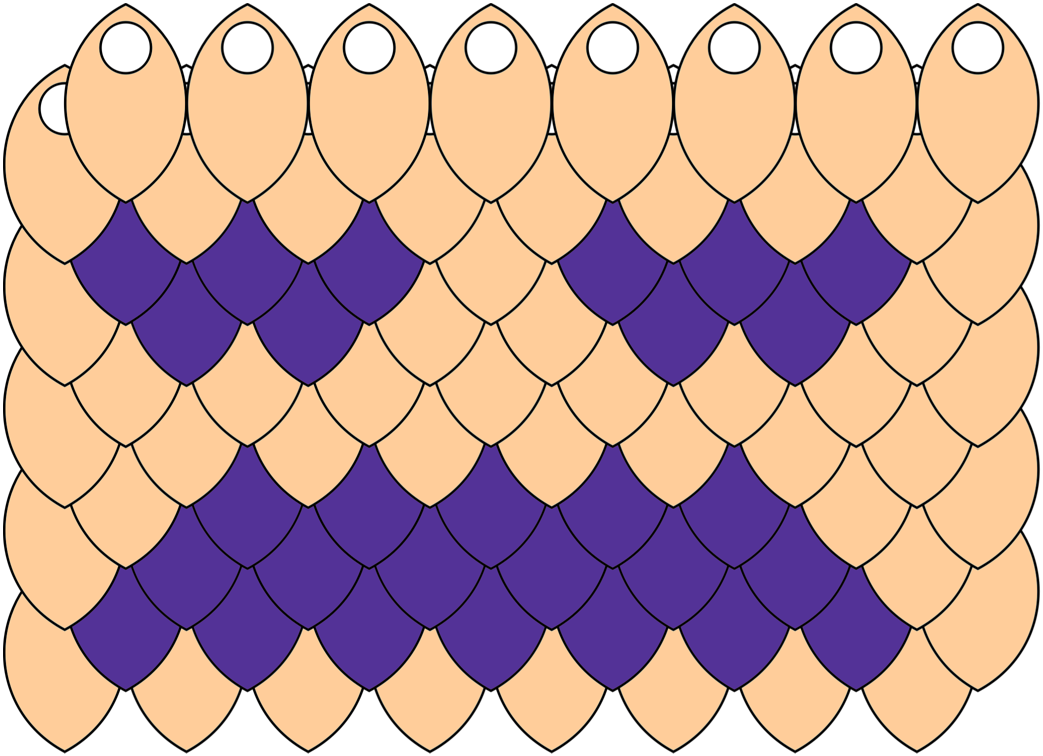
Medium (smile) chart on medium pouches
As an experiment I glued a translucent plastic purple scale onto a glow in the dark scale to try and balance between glow in the dark, and contrast in the light. The glow came through the translucent scale very well, with the benefit of the purple layer giving the face much better visibility in a well lit room!
Unfortunately the glue had a slightly uneven effect on the glow so some scales developed slightly darker patches. Super glue was used as it resulted in the least noticeable patching of the glues I tested, but you may find better results with other options.
Yarn Colour Changes
To create an orange pumpkin with green "leaves" at the top with the scale mail pouch pattern, my preferred place to change yarns for all pouch sizes is to work row 42 as final orange row, then work 43 onwards in green.
Placing the Face
If you are working a pouch split equally on 3 DPNs, I recommend centering the face chart in the full width of the row, making the row change directly on the back compared to the face.
If you are working a pouch magic loop with the stitches split in two halves, I would recommend to center the face chart on one of your two sets of stitches. This results in the row change being directly below where a drawstring will be.
In either case, or when translating the design onto another type of item, the ideal is to keep the whole face on one needle, which avoids the face being split where the scales may not line up as evenly.