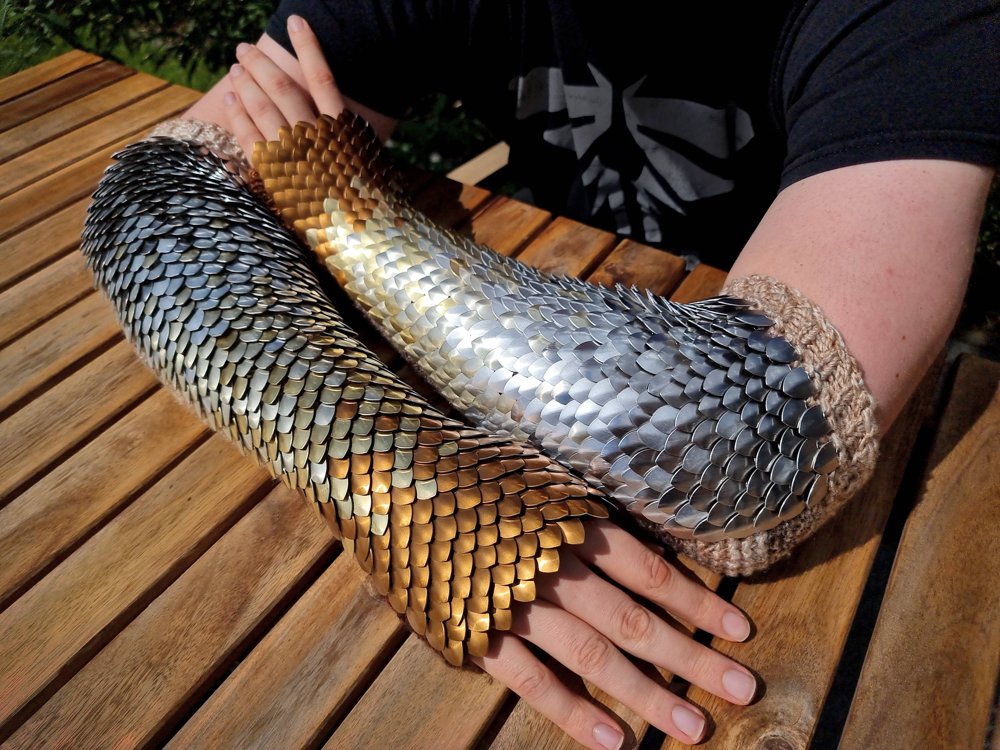
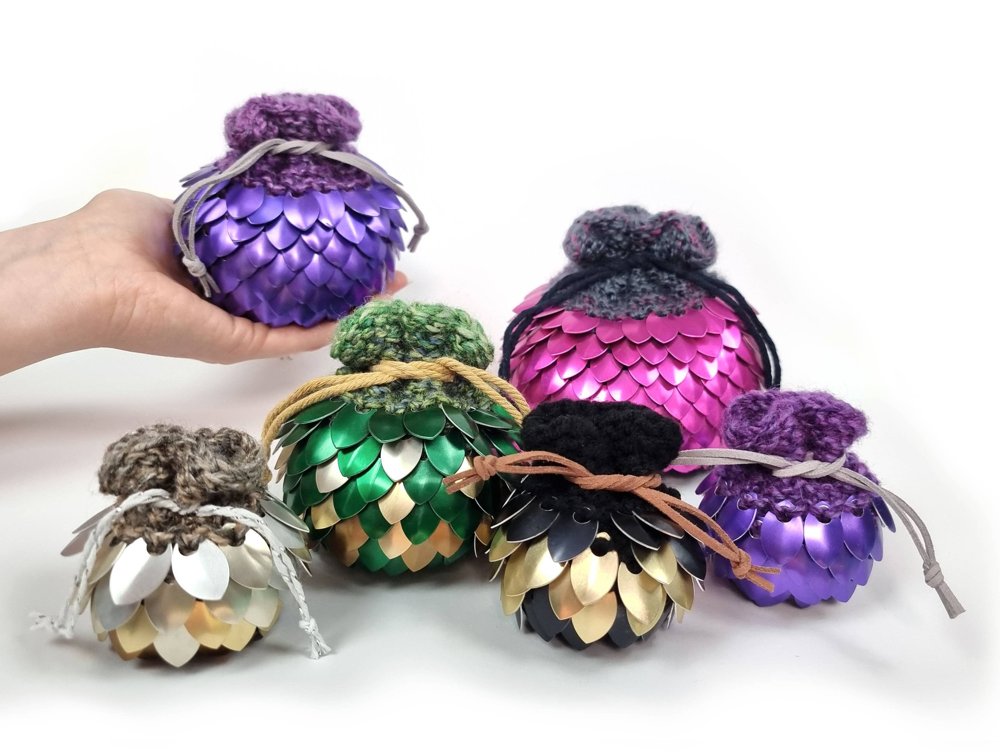
Purl Scale Stitch
The purl scale stitch adds a scale to the side of the knitting facing you. This is well suited to working flat or in the round, and can make it easier to see where you are adding scales in relation to previous rows of scales, which can help when working with multiple colours of scales in a specific design.
The stitch is worked similar to a purl stitch, placing the scale between the old and new loops as you work the stitch. Once the stitch following the purl scale stitch is completed, this results in two bars on the front of the work attached over the left and right sides of the scale, securing it in two places.
Video Tutorial
Photo Tutorial
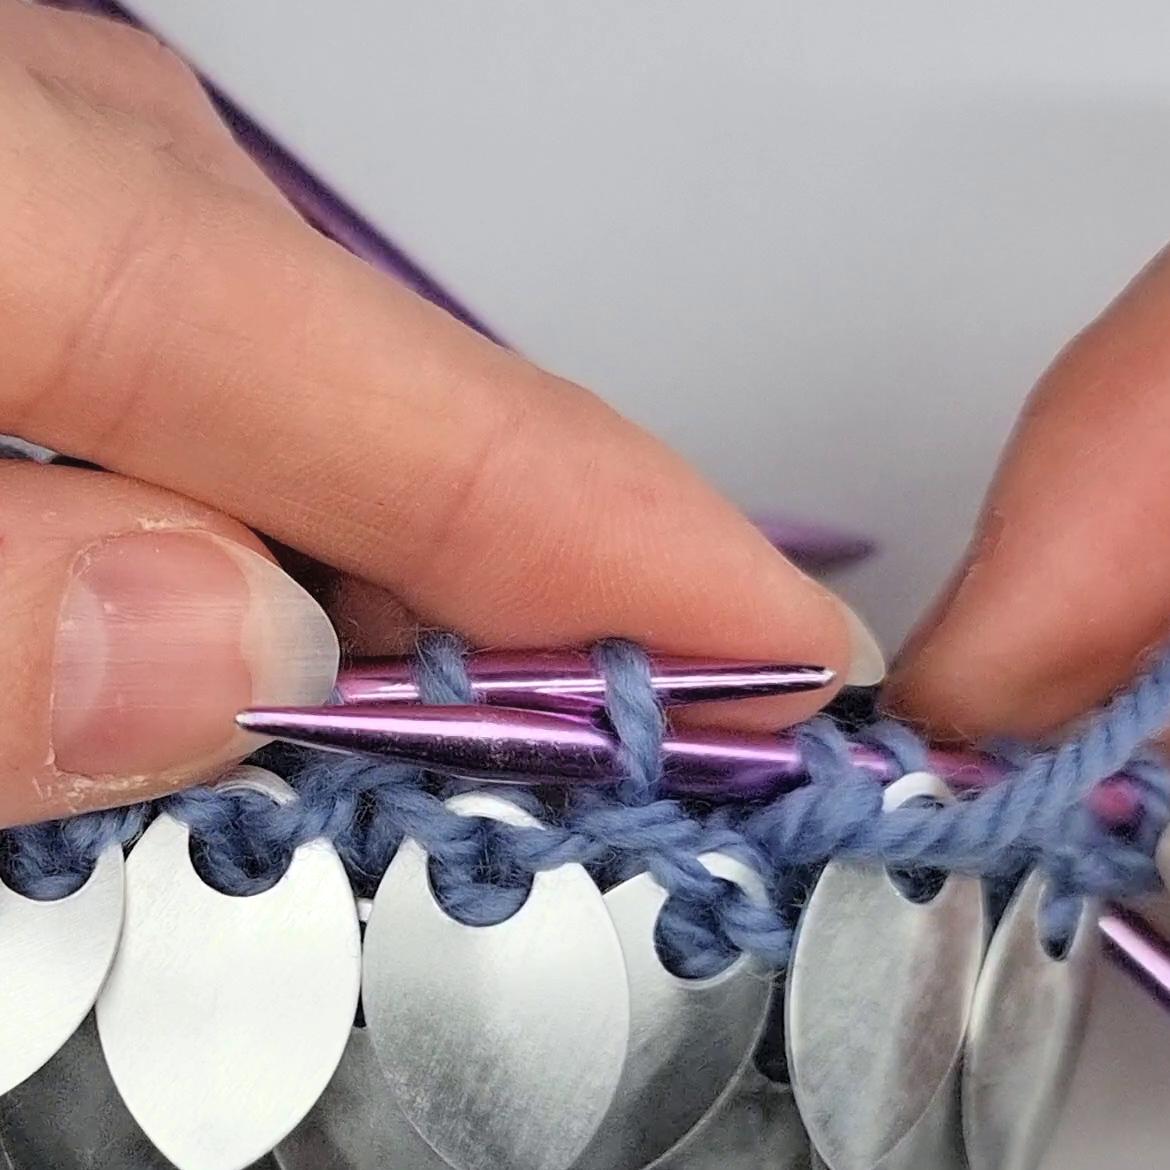
Insert the needle into the back of the next stitch as you would for a normal purl stitch.
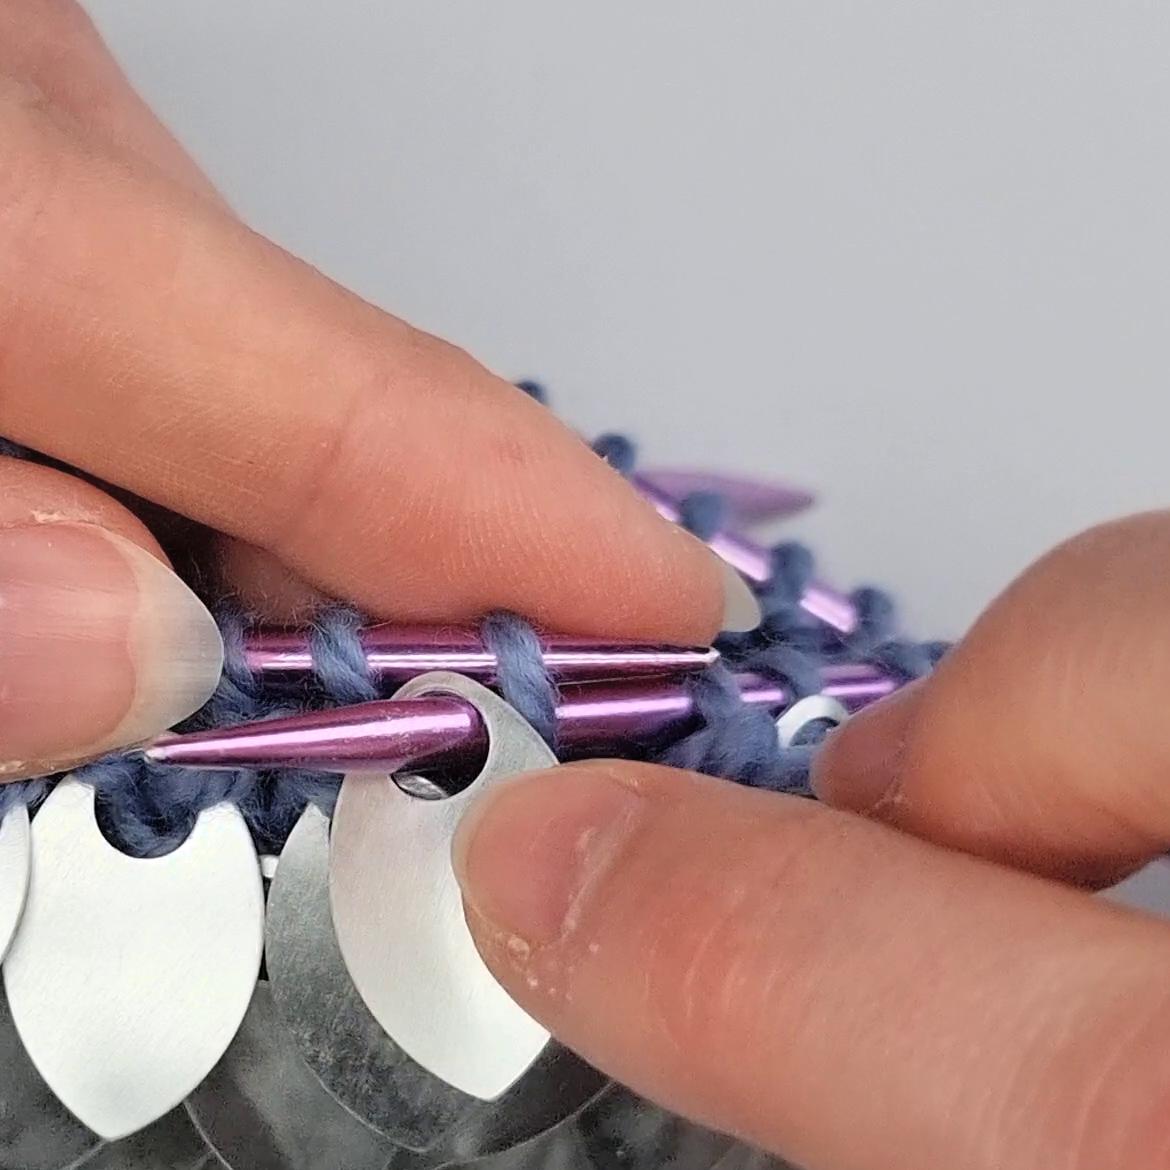
Place the scale over the end of the right-hand needle - the outer curving face of the scale should be towards you.
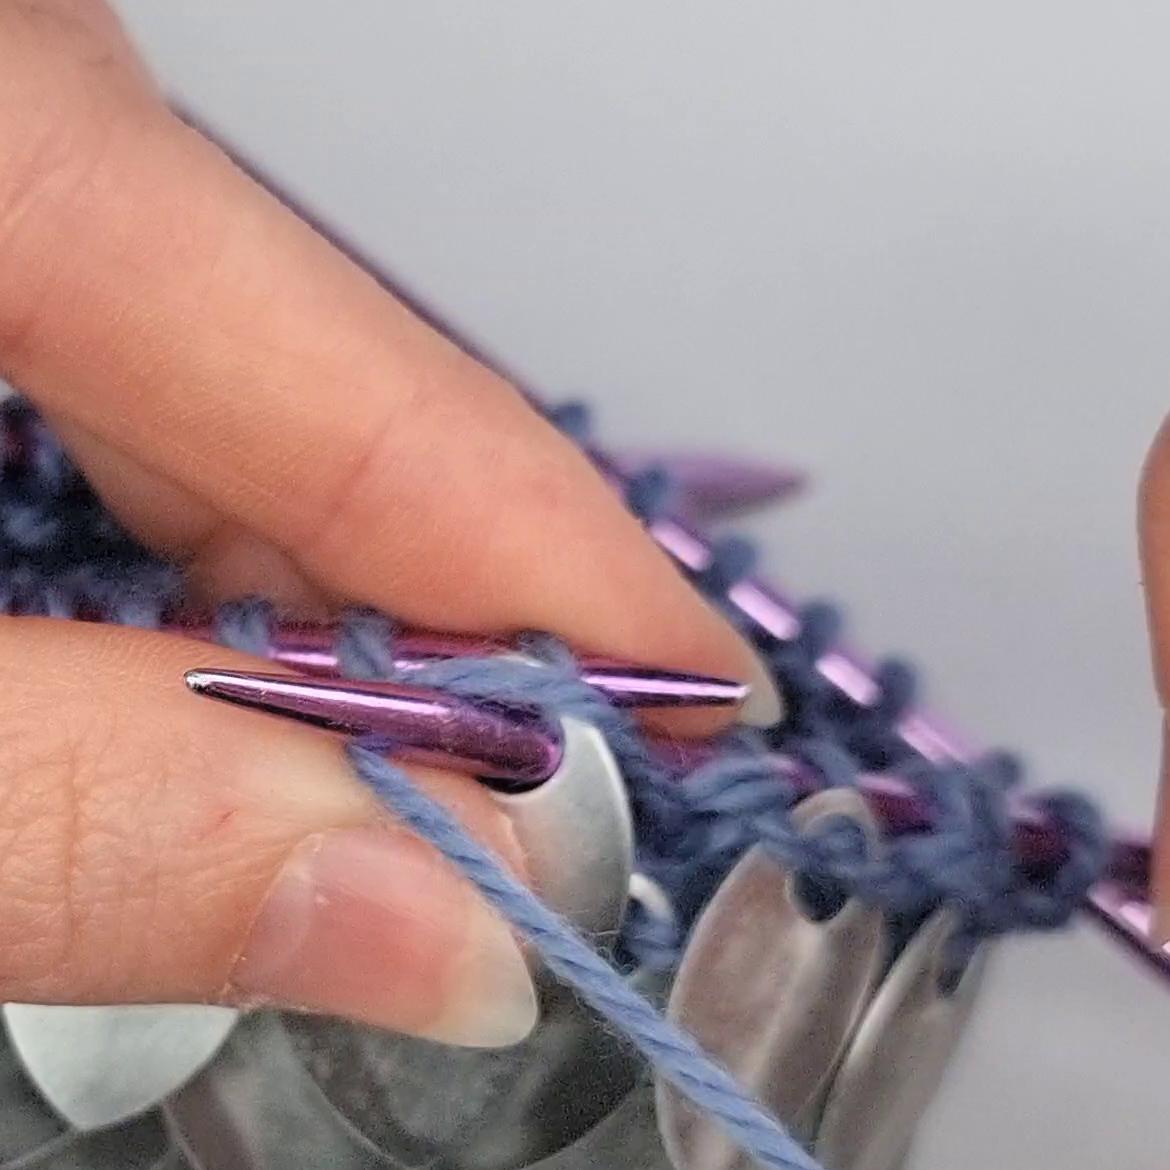
Keeping the scale in position, yarn over the right needle as you would when doing a purl stitch.
English knitting style is shown here, but if you work continental style wrap as you usually would.
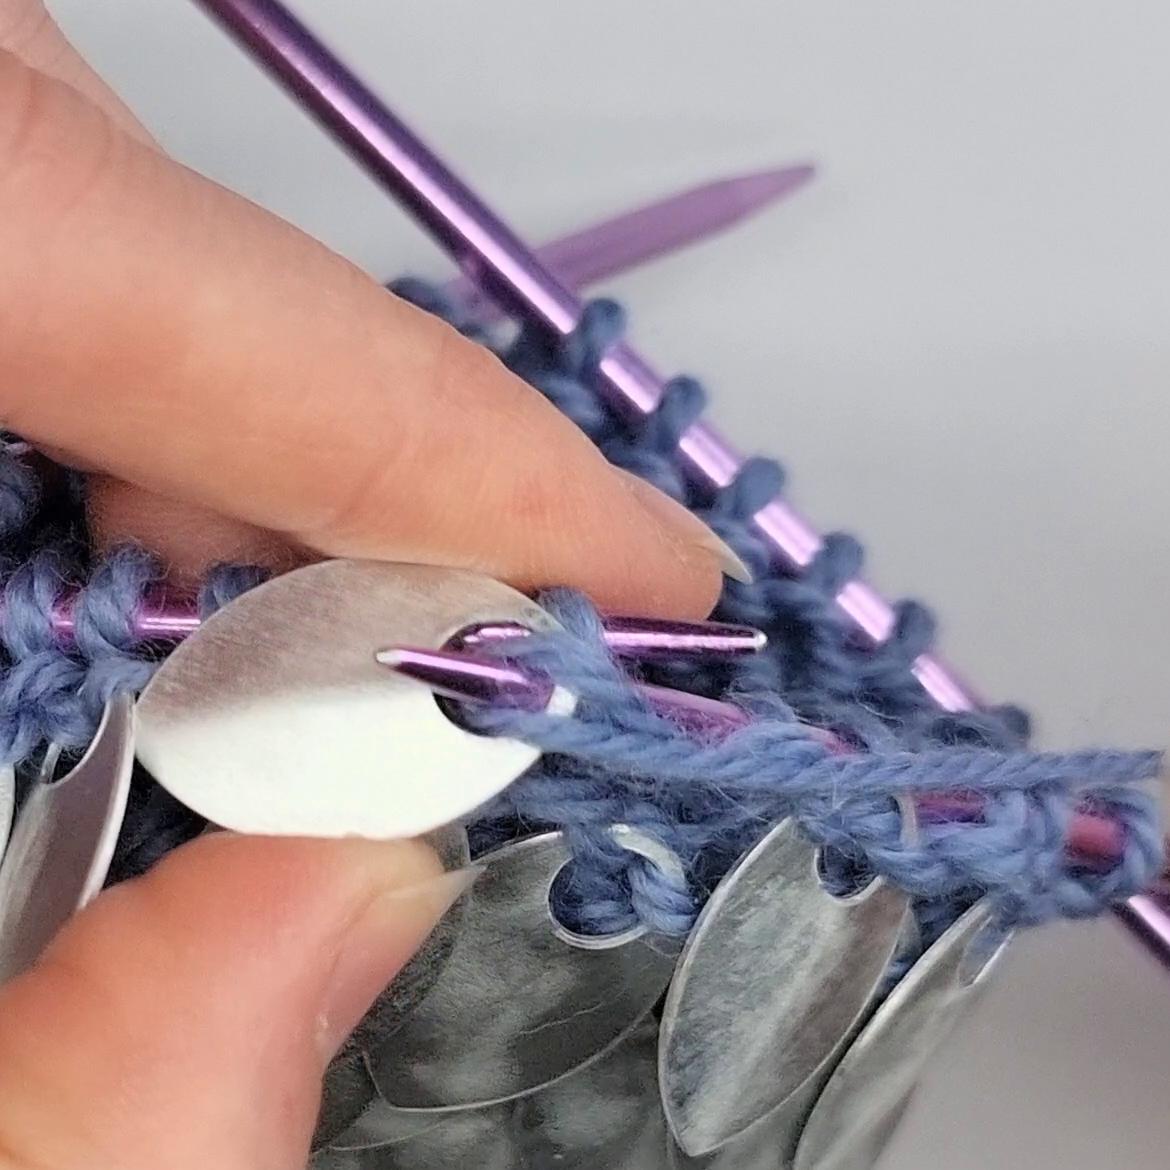
Pull the new yarn through both the scale and the old loop.
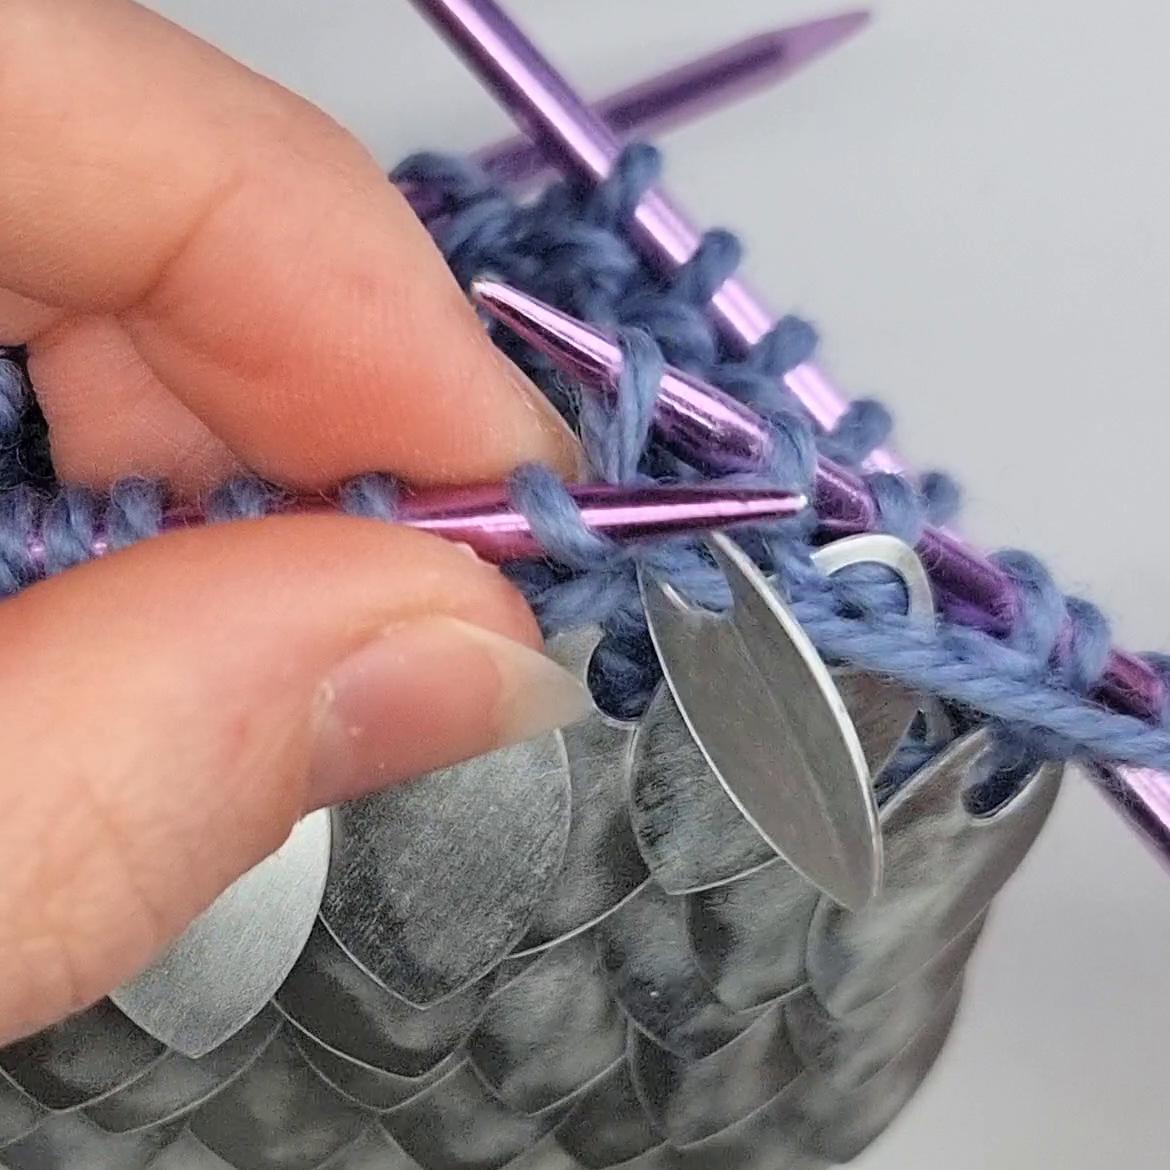
The scale can make this process slower and more fiddly, especially at first.
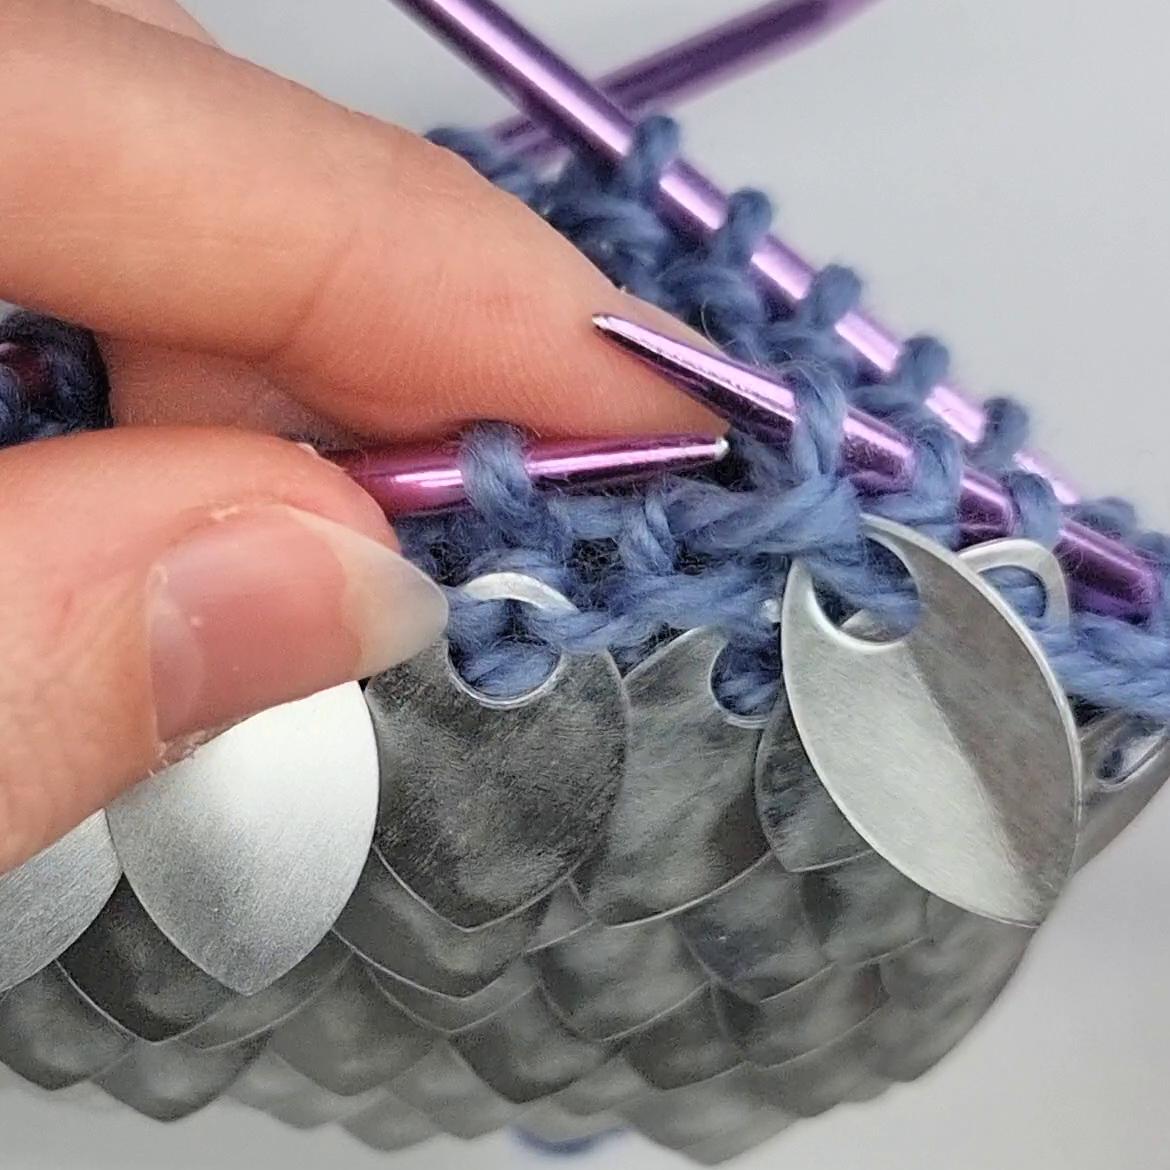
Once you have pulled the new yarn through both the scale and the old loop, drop the old loop from the left-hand needle similar to purling a normal stitch.
The scale will now be attached on one side.
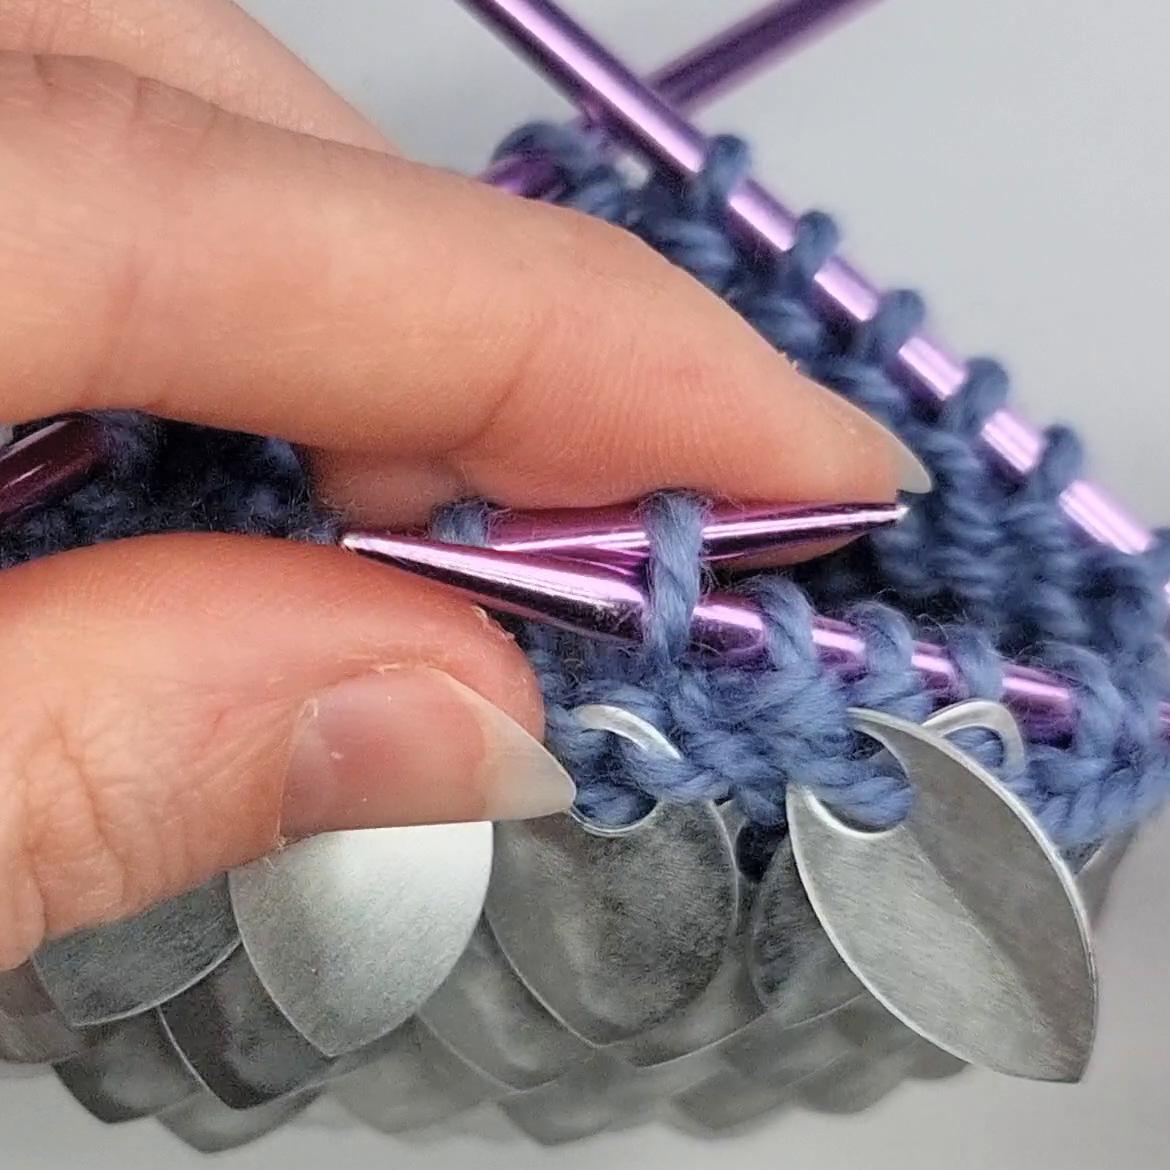
Start working the next stitch - insert as you normally would (the exact stitch may vary based on the pattern).
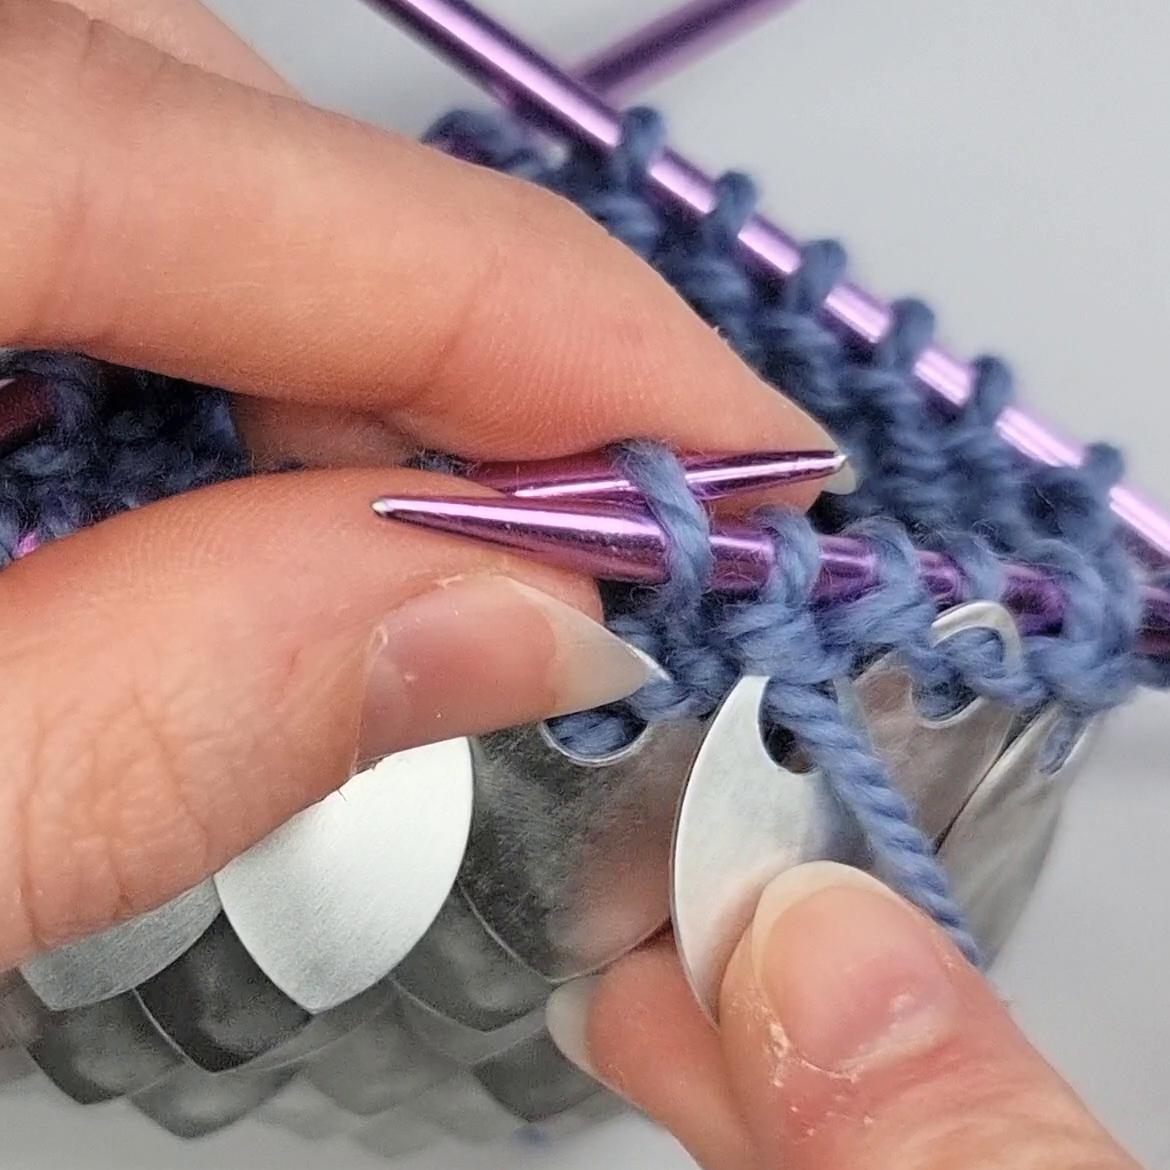
While making the next stitch, check that the scale is laying in the correct orientation, and if necessary adjust how it sits. The scale should be point down, with the outer curving face still towards you.
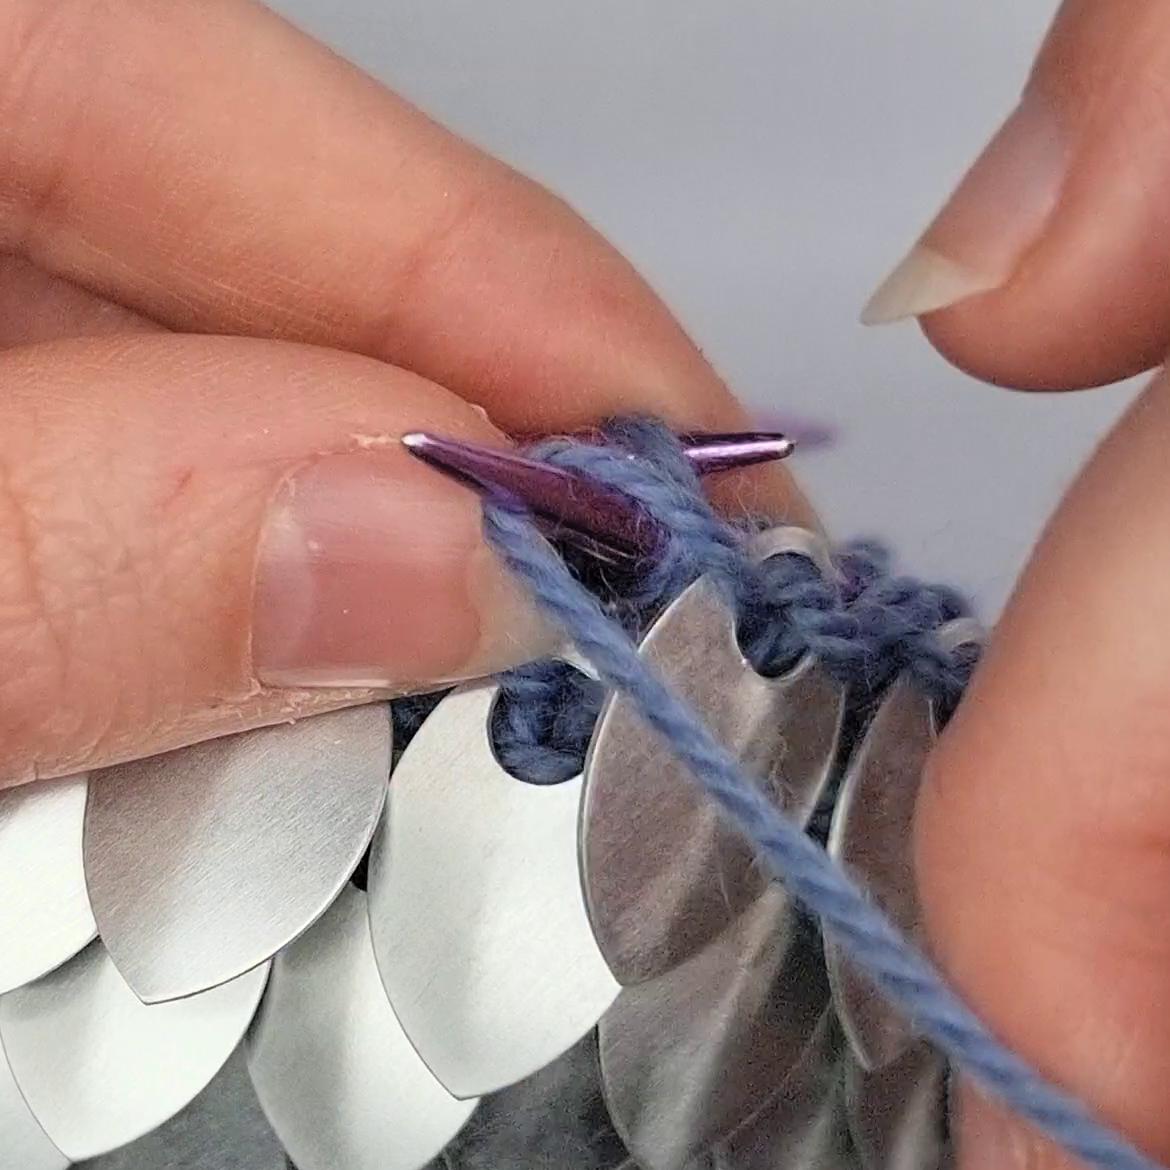
Completing the next stitch secures the scale, resulting in each scale being held by bars going through the hole, one each to the left and right, holding them securely in place.
If after completing the next stitch you notice the scale has ended up twisted or upsidedown, you may need to undo that stitch in order to return the scale to the correct position.
As you work you can see the scales you added on the side facing you – they are the ones with the holes visible very close to your needles.
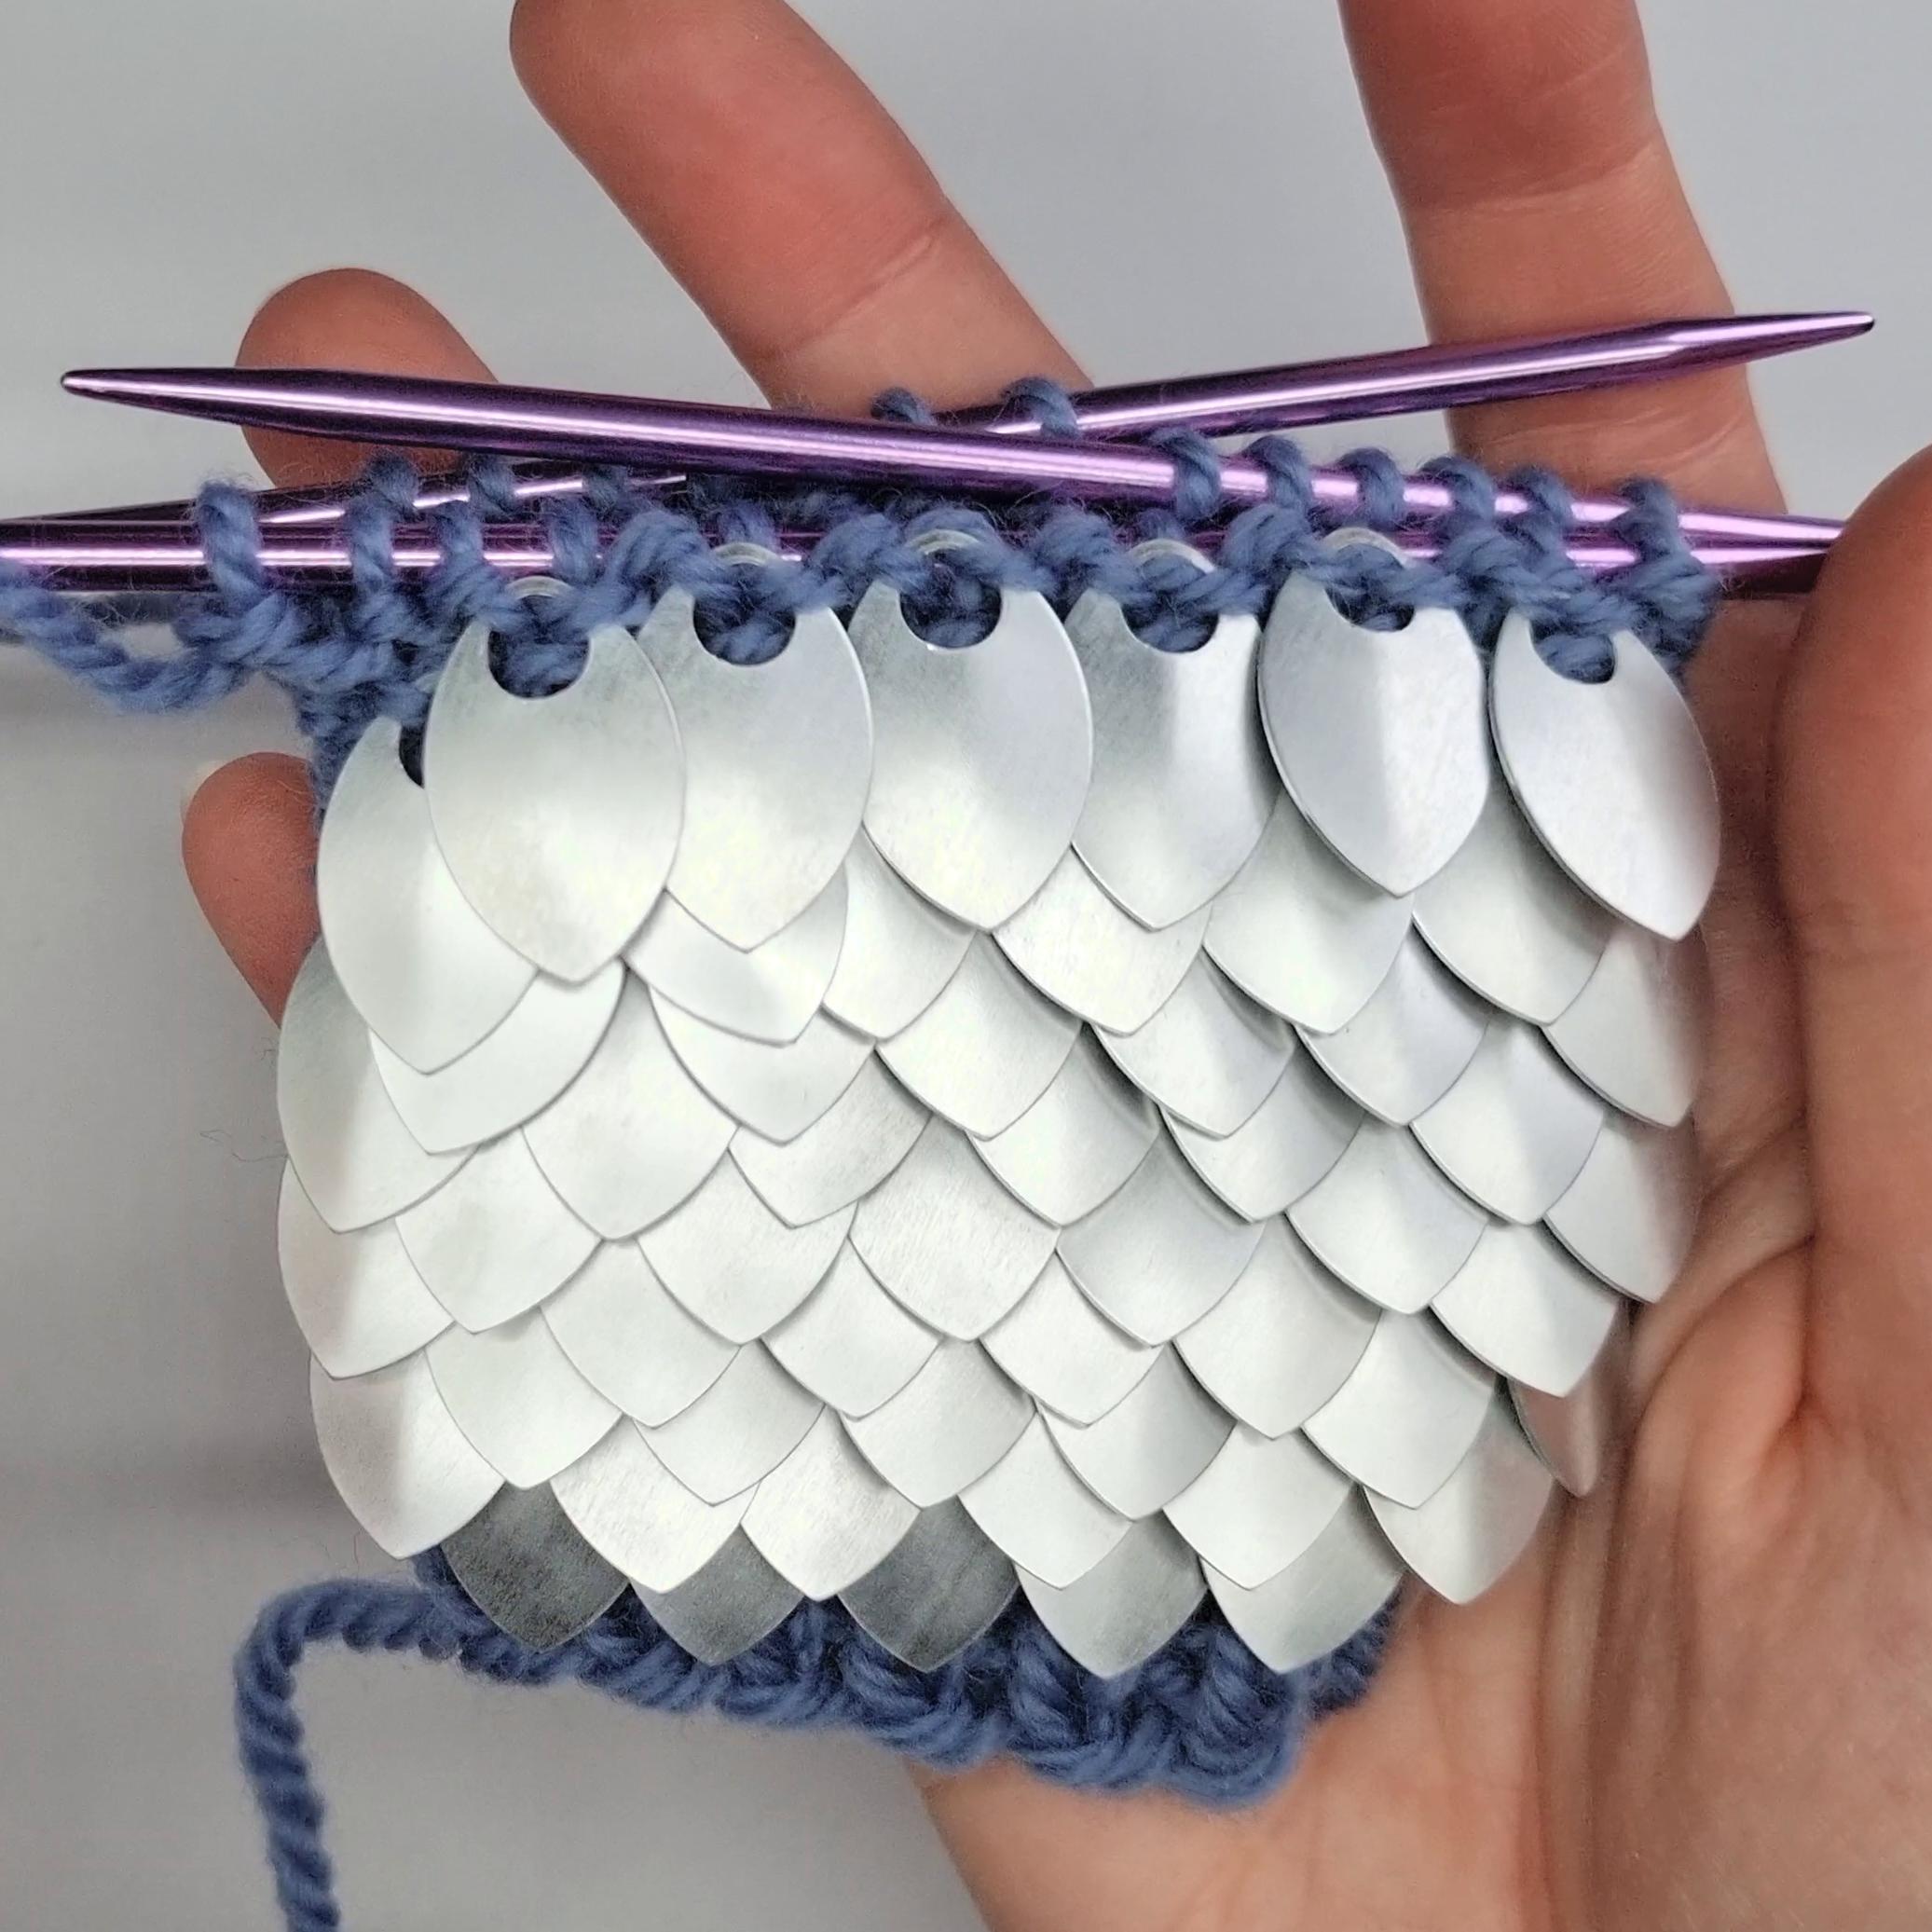
Generally they will be nested diagonally between previously added scales, though they may be added directly above the previous row of scales if desired.